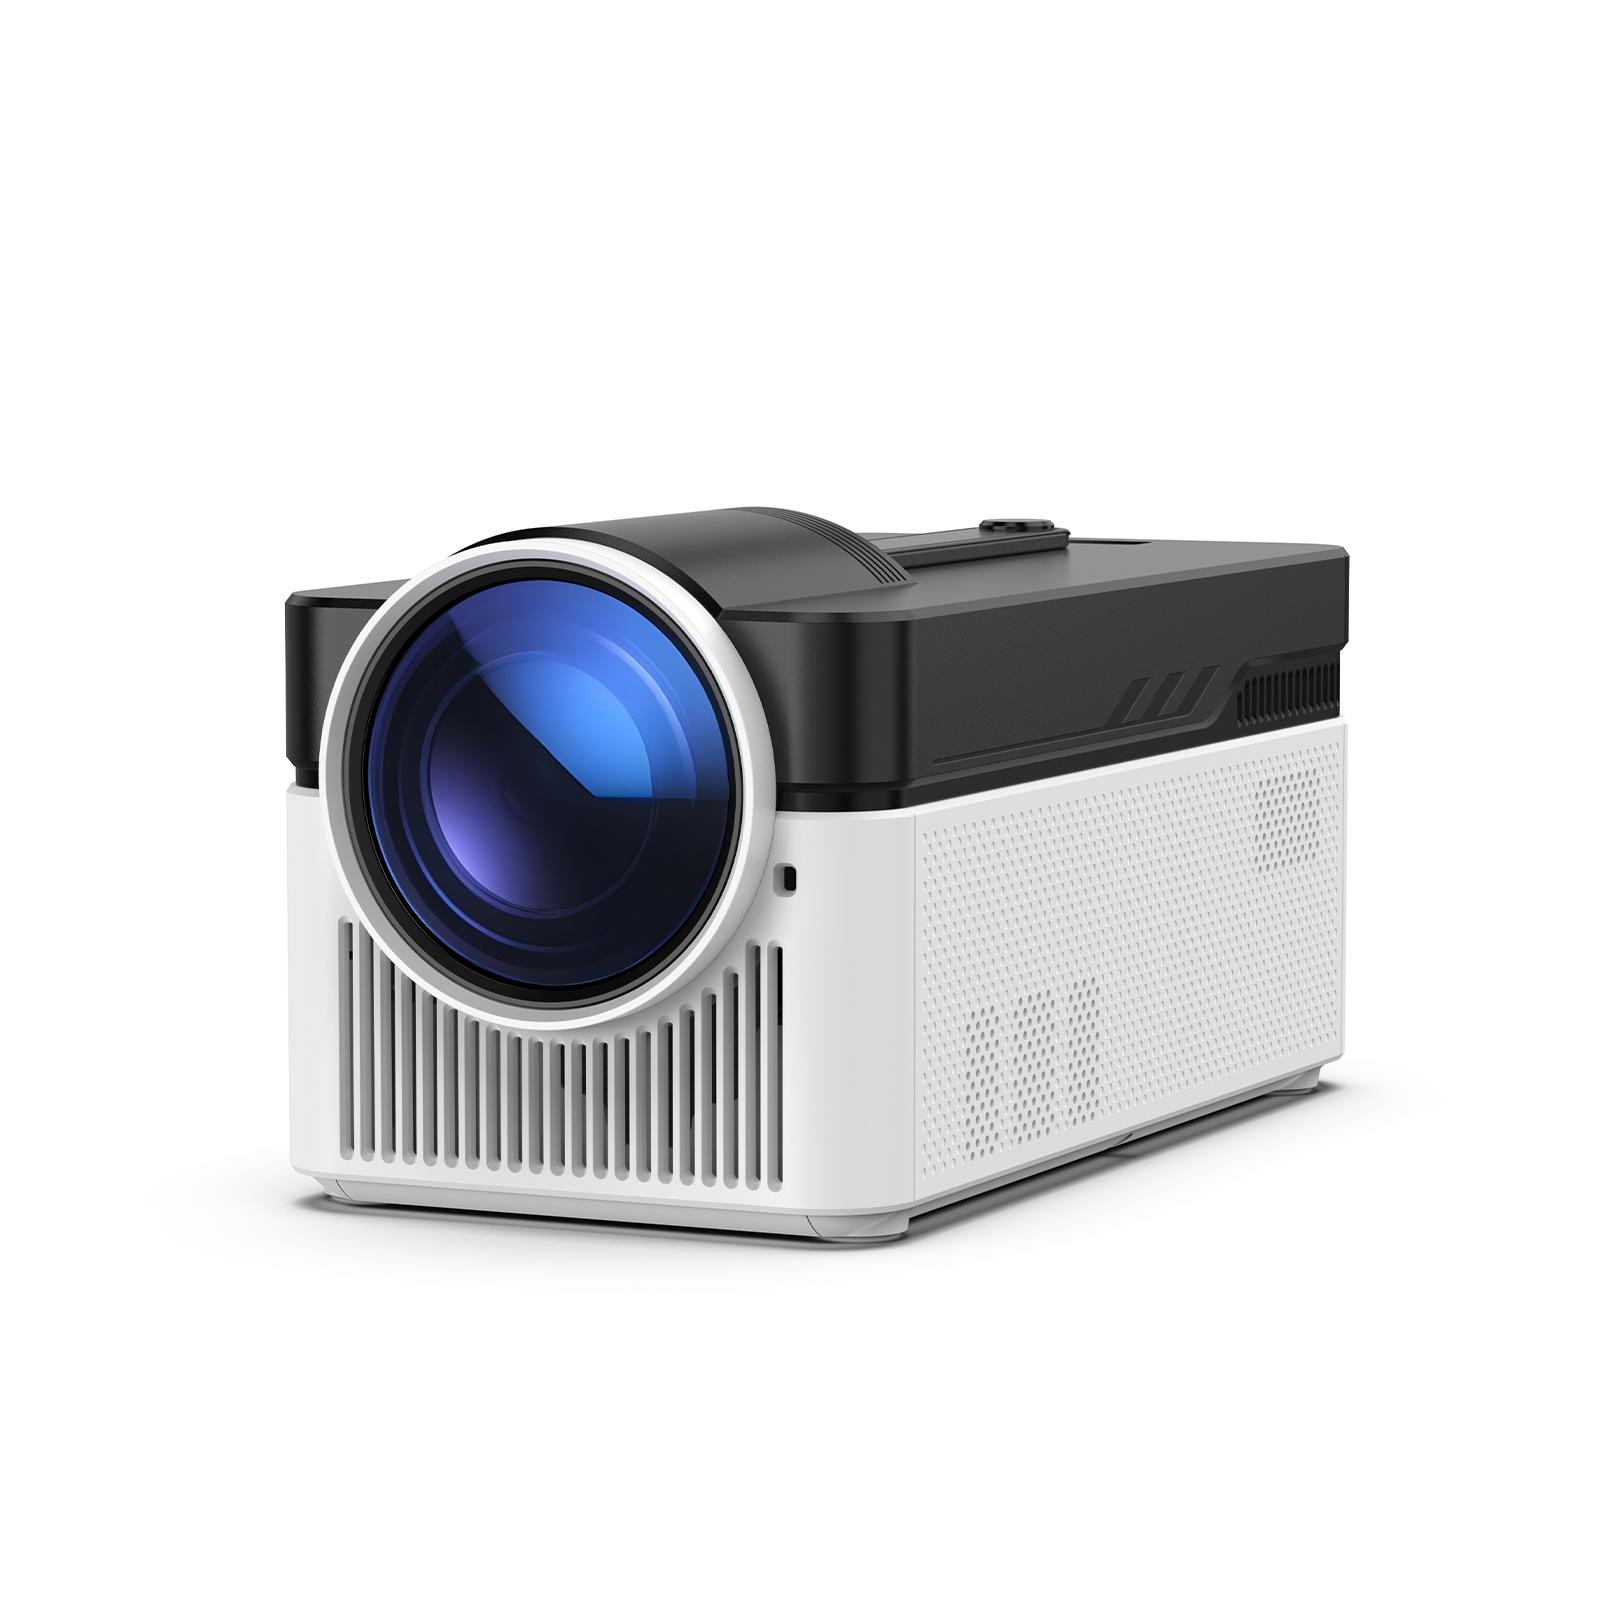
Compared to traditional TVs, projectors offer larger screen sizes and a far more immersive viewing experience, making them the core device for many families building a home theater. Creating your own private cinema at home is quickly becoming a popular choice for everyday households.
When people hear "home cinema," they often imagine a professional audio-visual room and thousands of dollars worth of sound systems. In reality, setting up a home theater is much more flexible than you might think. Whether you use a 100-square-foot bedroom or an independent basement, you can achieve a great viewing experience.
This article will guide you step-by-step through how to plan your cinema home design.
.png)
1. Determining the Location and Layout of Your Home Cinema
The first step in cinema home design is choosing your space. A room’s inherent conditions—such as ceiling height, natural light, sound insulation, and furniture layout—will directly determine your equipment choices. If you do this in reverse, you might run into issues like buying a projector that isn’t bright enough to handle ambient light, or buying a sound system that triggers complaints from neighbors.
Living Room Cinema
The living room is the top choice for most households because it doesn't require a dedicated spare room, making it the most cost-effective option. However, the main challenge is that the living room is a multi-functional space. It needs natural light and space for hosting guests during the day, and only switches to movie mode at night. Key considerations include:
- Ambient Light Control: Living rooms usually have multiple windows, and ambient light during daytime or dusk can significantly wash out picture contrast. Adding blackout curtains is strongly recommended.
- Furniture Layout and Throw Distance: The distance from your couch to the wall (or screen) determines how large your picture can be. Measure the actual available throw distance with a tape measure before buying equipment, and work backward to find a projector with a compatible throw ratio.
- Daytime Compatibility: Choose a motorized drop-down screen and a sound setup that doesn't consume valuable floor space, ensuring your daily household movement isn't disrupted.
Bedroom Cinema
If you prefer watching movies or show series in bed, the bedroom is another popular choice. Bedrooms are typically smaller, have lower ceilings, and offer a distance of only 6 to 10 feet from the bed to the wall. When setting up a bedroom cinema:
- You need a short-throw device—one that project a large image from a short distance—so you don't run into the issue of being unable to hit your desired screen size.
- Users rarely want to connect external HDMI cables or media players just to watch a quick episode in bed. An all-in-one unit with a built-in smart system that runs streaming apps directly is much more convenient.
- Fan noise and heat dissipation matter. Because bedrooms are compact and you sit closer to the unit, projector fan noise is much easier to notice.
Dedicated AV Room
If your budget and floor plan allow, a dedicated AV room offers the absolute highest performance ceiling. You can fully customize sound insulation, acoustic absorption, light control, seating, and wiring layouts. This includes using professional acoustic materials, zoned lighting controls, and dedicated high- and low-voltage wiring. This approach requires a larger investment and is best suited for users with dedicated spare space (such as a basement or attic) who have high standards for picture and audio quality.
Always evaluate your spatial conditions first before deciding on equipment formats and budget allocation.
2. Building the Core Home Cinema Systems
Projector: The Core Device for Visual Experience
- Resolution: Native 1080p is the mainstream standard for home projectors, with internal chips decoding up to 4K or 8K source content.
- Brightness: Brightness dictates how well the projector can combat ambient light. If your room cannot be fully darkened, prioritize higher brightness specs over just screen size.
- Smart Features: Auto-focus and auto-keystone correction are standard features on mid-to-high-end home models, saving you the hassle of manual screen adjustments.
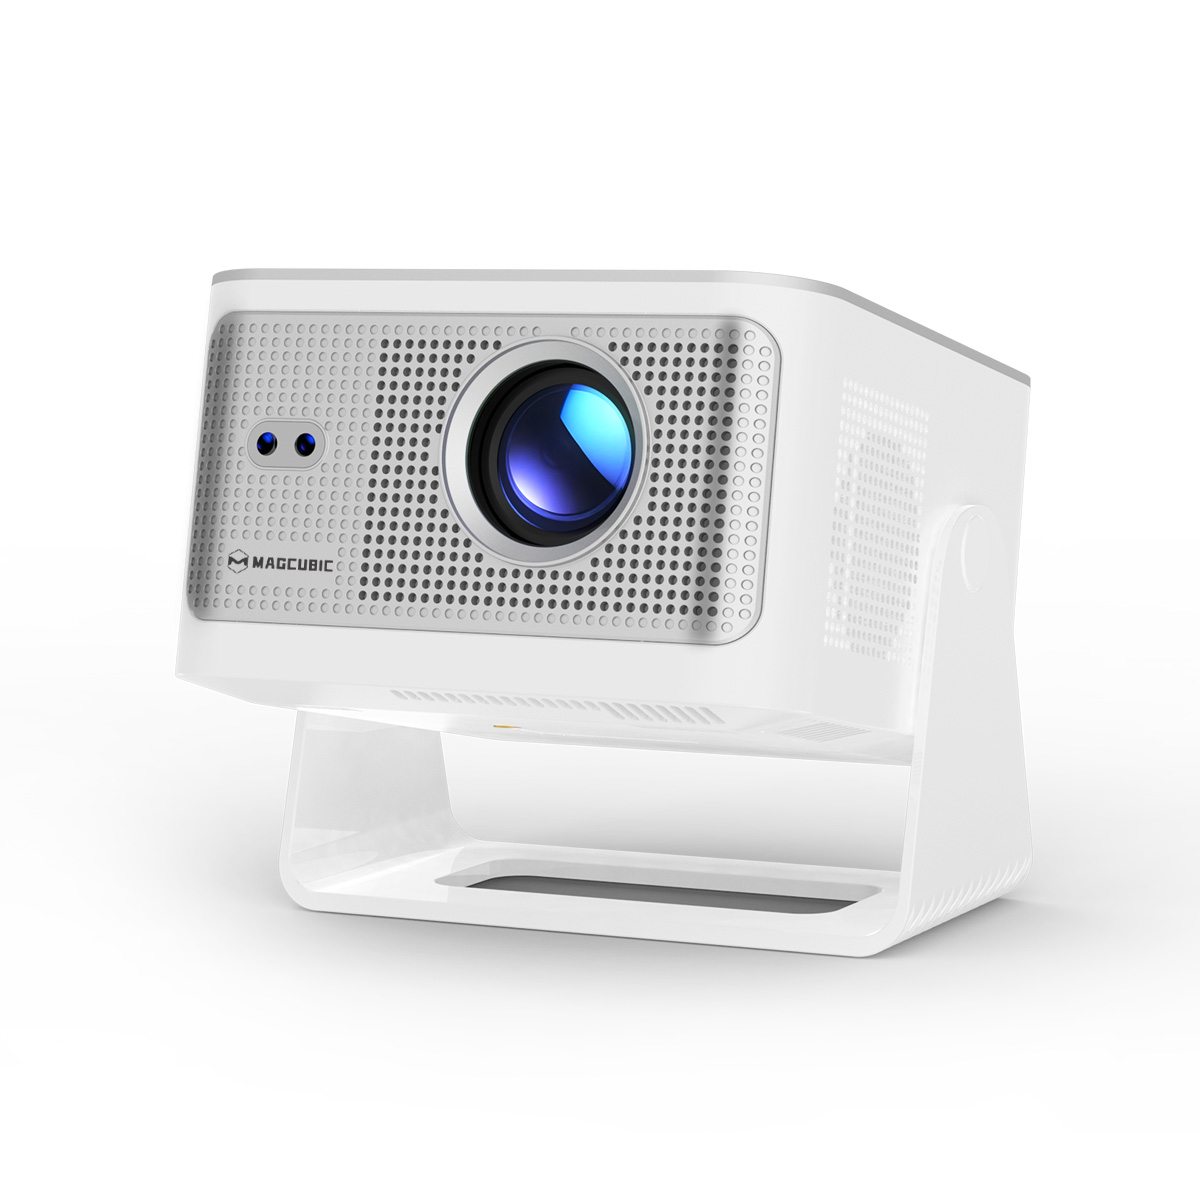
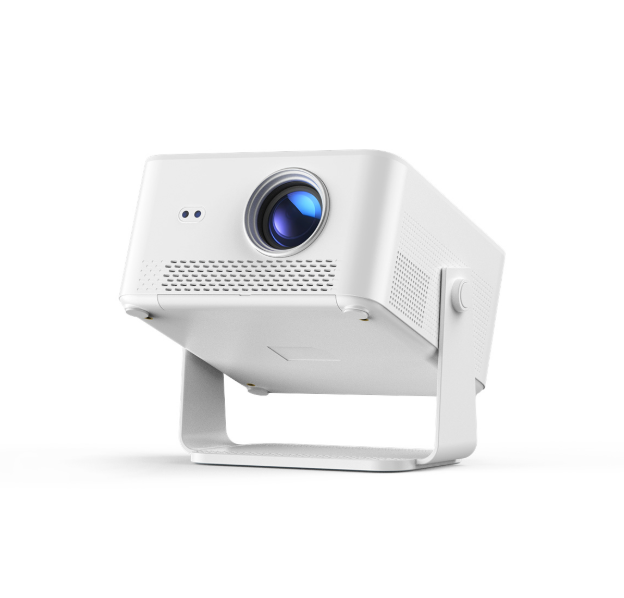
For large spaces with significant ambient light like living rooms, consider mid-to-high-end models such as the Magcubic HY450Max. Designed for larger living areas, the HY450Max features native 1080p resolution, higher brightness, and complete auto-focus and auto-keystone capabilities, allowing even first-time users to set up and adjust the image quickly. It offers a balanced choice for users looking to combine daily viewing, binge-watching, and home entertainment. Key specifications include native 1080p, 800 ANSI lumens, Android 14, and dual 6W built-in speakers that deliver solid volume without requiring external audio. It can project images up to roughly 140 inches, making it a reliable main device for a living room cinema.
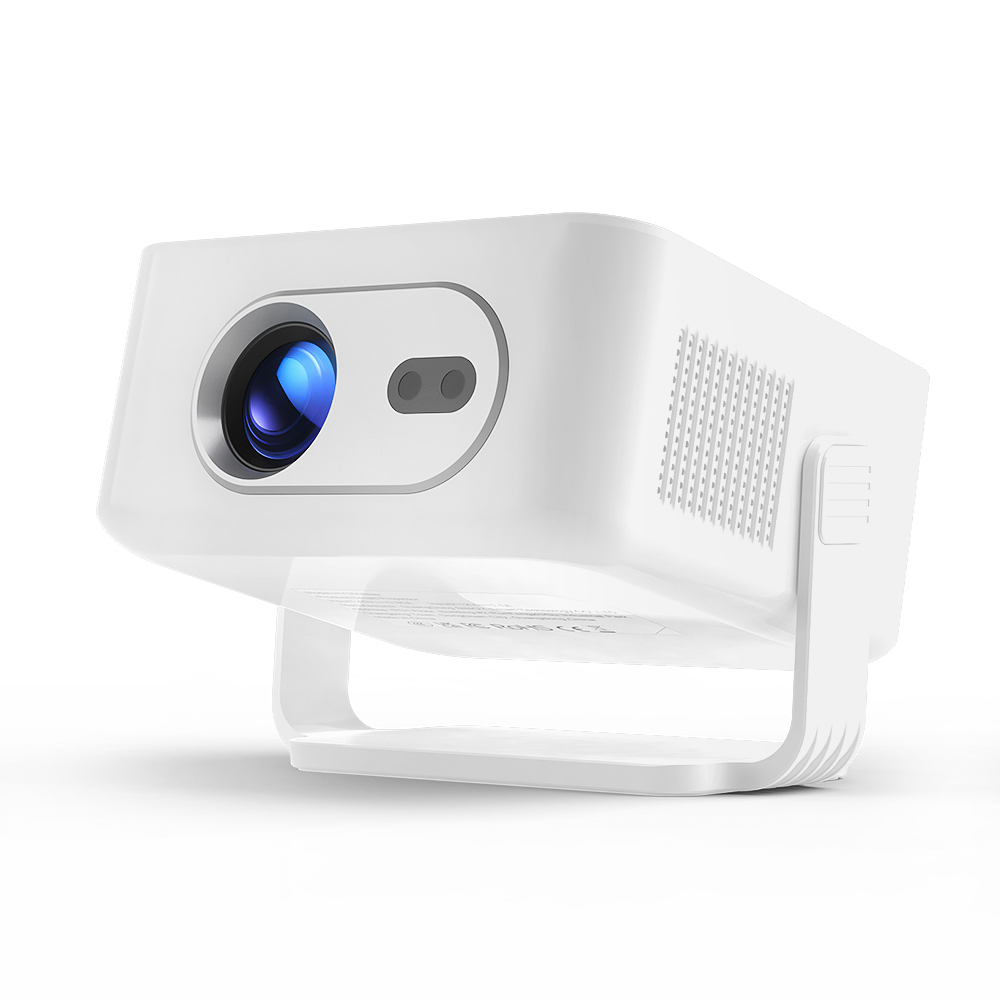
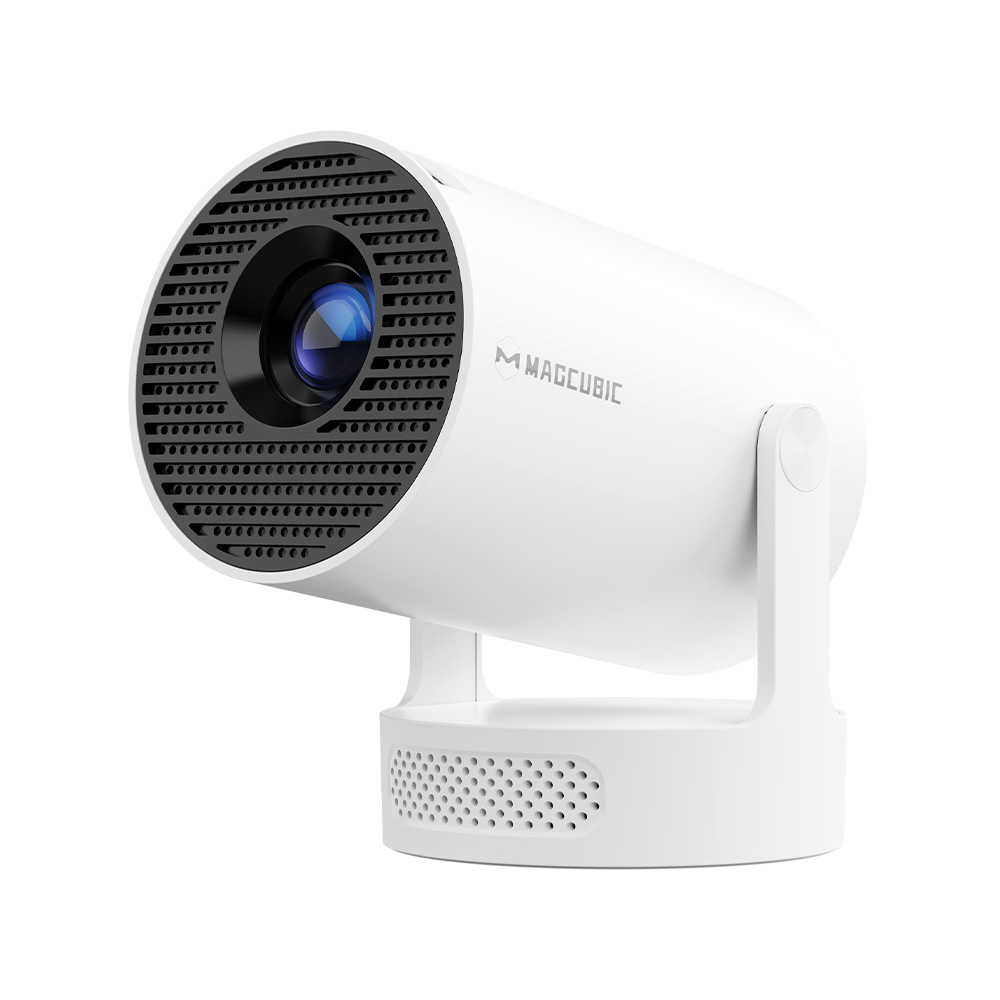
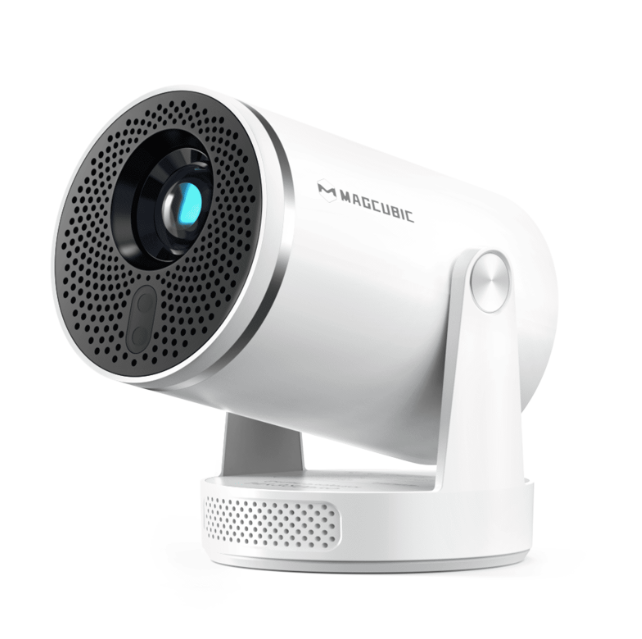
For compact spaces like bedrooms where you need a large screen from a short distance (around 6–7 feet), short-throw models outperform standard projectors. The HY320Pro is well-suited for this setup. Featuring a 0.8:1 short-throw ratio, its official throw distance ranges from 0.6 to 2.5 meters (2 to 8.2 feet), projecting screen sizes from 35 to 135 inches. With a compact body size of roughly φ100×φ116×198.95 mm, it sits neatly on a nightstand or low cabinet. It offers 300 ANSI lumens of brightness and supports front, rear, and ceiling-rear installation modes, giving you flexibility if you decide to mount it later.
The differences in brightness and speaker configurations between these two models reflect the distinct requirements of a living room (higher ambient light, larger space) versus a bedroom (smaller space, closer viewing distance).
Projection Screen
Screen size should be planned alongside throw distance and viewing distance, rather than just choosing the biggest screen possible. Many people allocate most of their budget to the projector and ignore the screen, but screen material plays a major role in final image quality. Common screen types include:
- White Screens: Offer the most balanced color accuracy and work best in dark, light-controlled rooms.
- Grey / ALR (Ambient Light Rejecting) Screens: Use specialized optical coatings to block ambient light and preserve image contrast, making them ideal for living rooms where full light control isn't possible.
- Fresnel / Ultra-Short-Throw Screens: Matched specifically to the projection angle of ultra-short-throw projectors, usually sold together as a paired setup.
For screen formats, choose between a fixed-frame screen (which offers the flattest surface and fits dedicated AV rooms) or a motorized drop-down screen (which retracts when not in use, making it ideal for multi-functional living rooms).
Projector placement also affects image quality. Whether mounted on a tabletop, ceiling, or floor stand, try to keep the lens aligned with the center of the screen to minimize heavy keystone correction, which degrades picture resolution.
Sound System: Audio Creates Immersive
Beyond visuals, audio provides the other half of the cinematic experience.
- Built-in Projector Speakers: Most convenient. Best for users with casual audio needs or small bedrooms where sound fills the space easily.
- Soundbars: A cost-effective upgrade that noticeably improves dialogue clarity and bass performance with simple installation.
- 2.1 / 5.1 Multi-Channel Systems: Require external surround speakers and a subwoofer. Ideal for dedicated AV rooms or users who want rich audio layers, though they require more complex wiring and physical space.
The golden rule for choosing audio: Check whether your space can accommodate extra speakers and if soundproofing is needed to avoid disturbing neighbors, then decide on system complexity.
3. Enhancing the Cinematic Experience
- Viewing Comfort: Keep the viewing distance between 1.5 to 2.5 times the screen diagonal length. Sitting too close causes eye strain, while sitting too far reduces immersion. Position your seat so your eye level lands on the lower one-third to one-half of the screen for long-term neck comfort.
- Room Optimization: Controlling light is the cheapest and most direct way to boost image contrast. Adding blackout curtains delivers immediate improvements in black levels. Wall colors also matter: light or glossy walls create distracting light reflections, whereas dark, matte walls keep screen edges looking clean and sharp.
- Acoustic Tuning: Adding soft furnishings like rugs, heavy curtains, or fabric sofas helps absorb sound reflections, making dialogue and bass sound clearer and tighter.
4. Personalizing Your Home Cinema Space
- Ambient Lighting and Light Strips: Installing dimmable, color-temperature-adjustable LED light strips behind the screen or walls boosts overall atmosphere. Keeping low background light while watching movies reduces eye strain in dark rooms without washing out picture contrast.
- Theme Decor: Movie posters, collectibles, or a small letterboard featuring a "Weekly Movie List" give the room an authentic theater feel. This is where you can showcase your personal style.
- Cable Management and Organization: As devices multiply—projectors, screen controllers, soundbars, routers—cables quickly clutter up the space and create potential safety hazards. Plan your cable runs early and install enough wall outlets for key equipment so you can avoid messy extension cords later.
.png)
5. Home Cinema Setups by Budget
- Entry-Level Setup: Entry-level projector paired with a plain wall, using built-in speakers, and basic light control using blackout curtains.
- Mid-Tier Setup: Mid-to-high-end 1080p smart projector paired with a dedicated projection screen, a Soundbar audio system, and ambient lighting or soft decor. (e.g., HY450Max setup).
- High-End Custom Setup: A dedicated AV room featuring top-tier equipment, professional acoustic treatment, a multi-channel surround sound system, custom cinema seating, and integrated lighting controls. This typically requires professional design and installation for users seeking a commercial-grade theater experience.
6. Frequently Asked Questions (FAQ)
Q1: What should I do if the projector image is blurry or out of focus?
Most mid-to-high-end models support auto-focus. If the image remains blurry, check whether your throw distance is within the device's specified range. Distances that are too close or too far affect focus performance. Also, check for dust or smudges on the lens.
Q2: What if my living room is too bright and the projected image looks washed out?
This happens when ambient light overwhelms the screen contrast. You can fix this by adding blackout curtains, upgrading to a projector with higher lumen brightness, or switching to an ALR (Ambient Light Rejecting) screen. You can also combine these solutions.
Q3: Does a more expensive projector always mean a better experience?
Not necessarily. The key is matching equipment to your space. For example, a high-brightness projector is unnecessary in a small, fully darkened bedroom. Choosing a cost-effective, well-suited projector—such as a Magcubic projector—is much more important than just buying the most expensive option.
Summary
Planning a cinema home design is a step-by-step process: First, define your space (living room, bedroom, or dedicated AV room). Next, select a projector with the right brightness and smart features, matched with the proper screen and audio setup. Then, fine-tune room acoustics and light control for a true cinematic experience. Finally, add ambient lighting, decor, and cable management to bring your personal touch to life.
A well-matched, feature-rich smart projector is often the single most important step toward building your ideal home cinema.