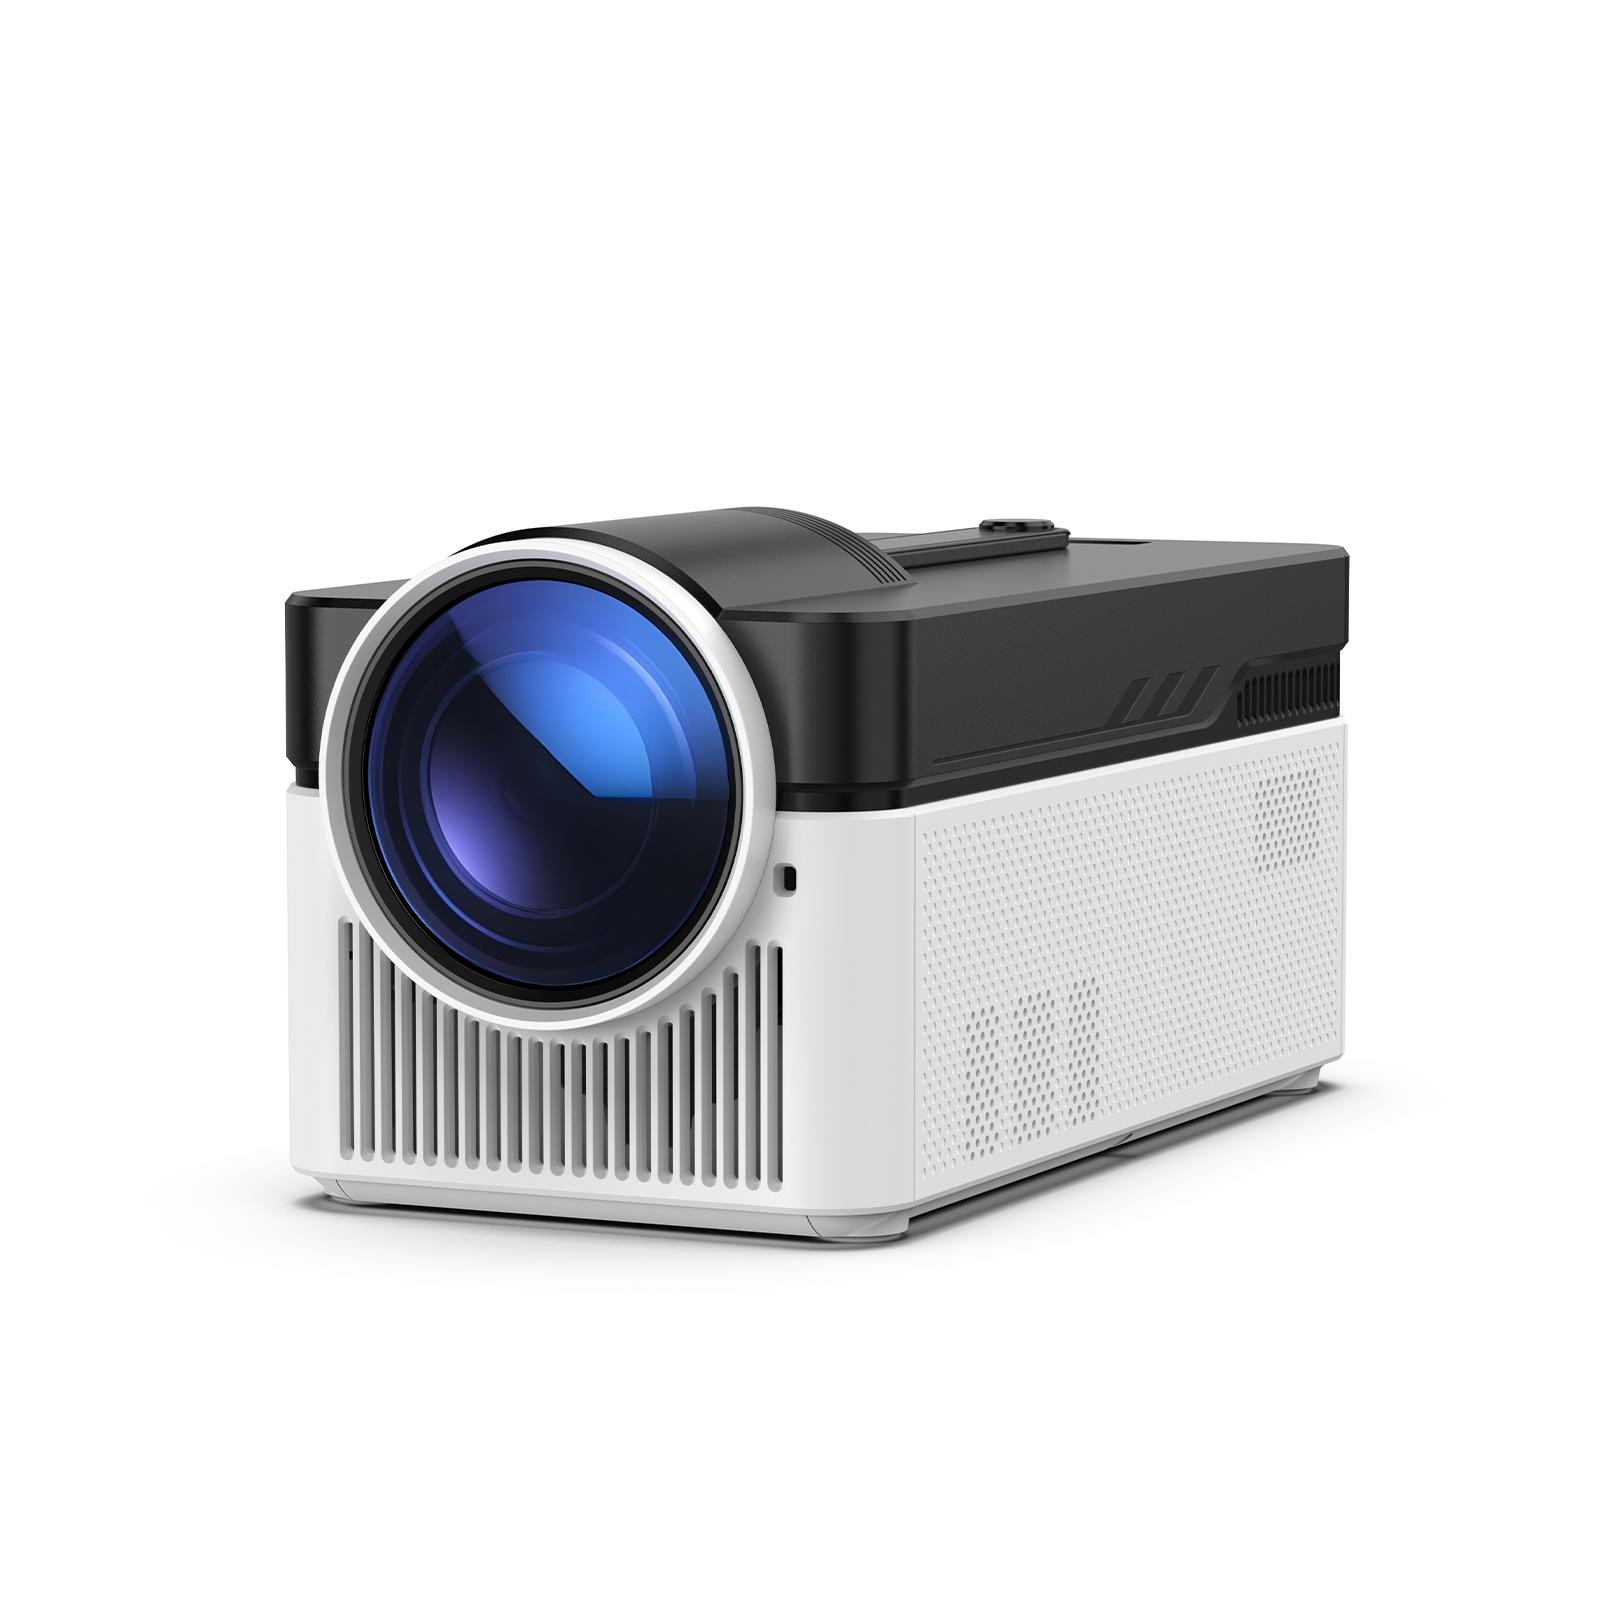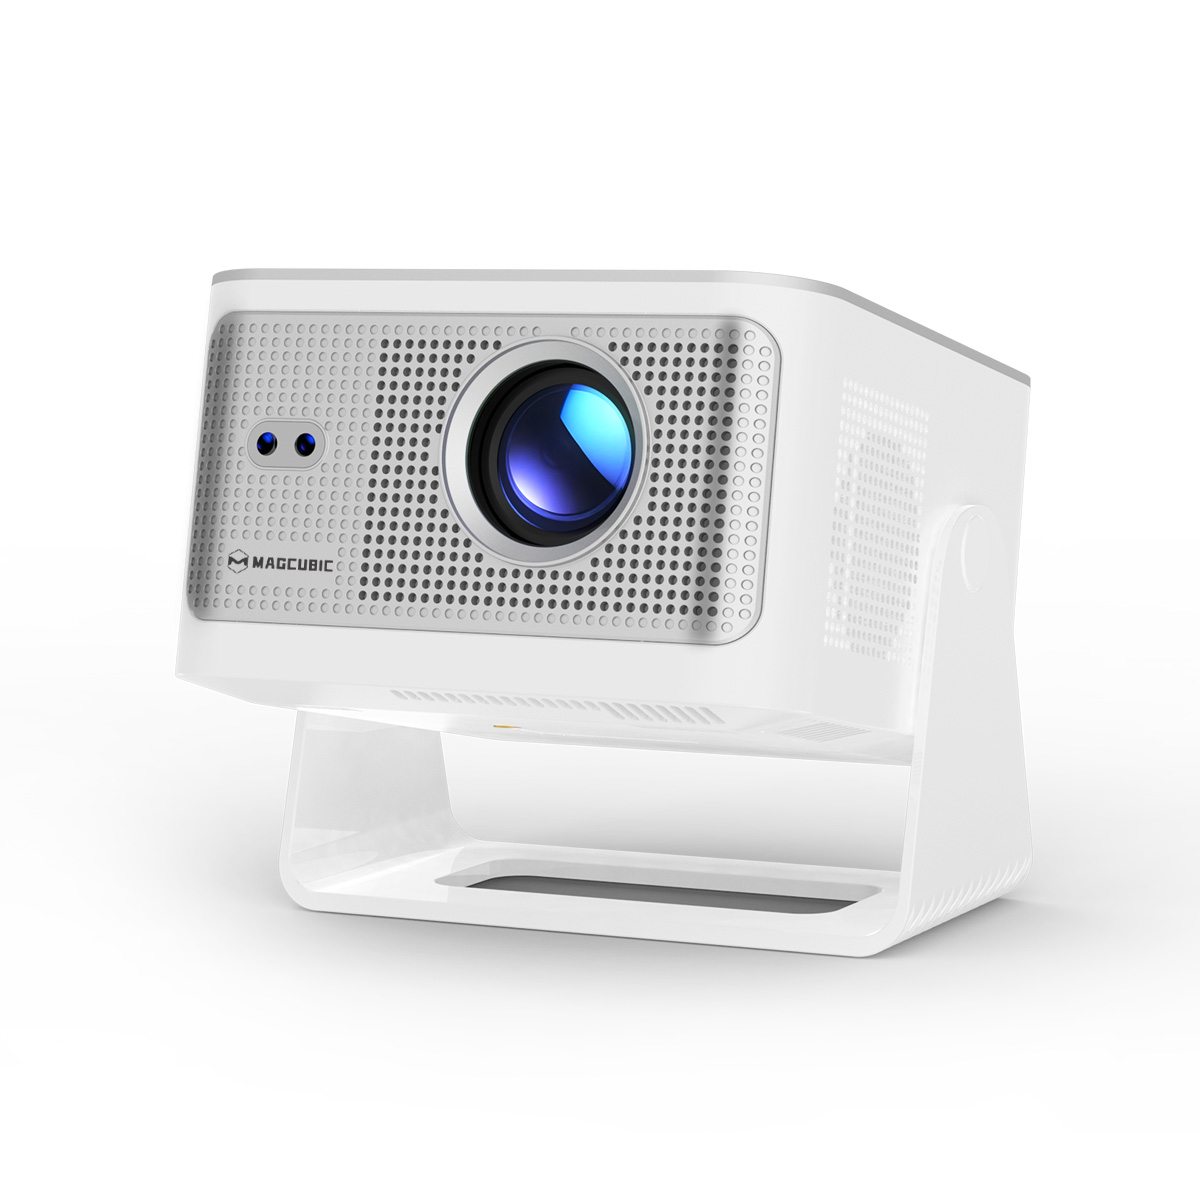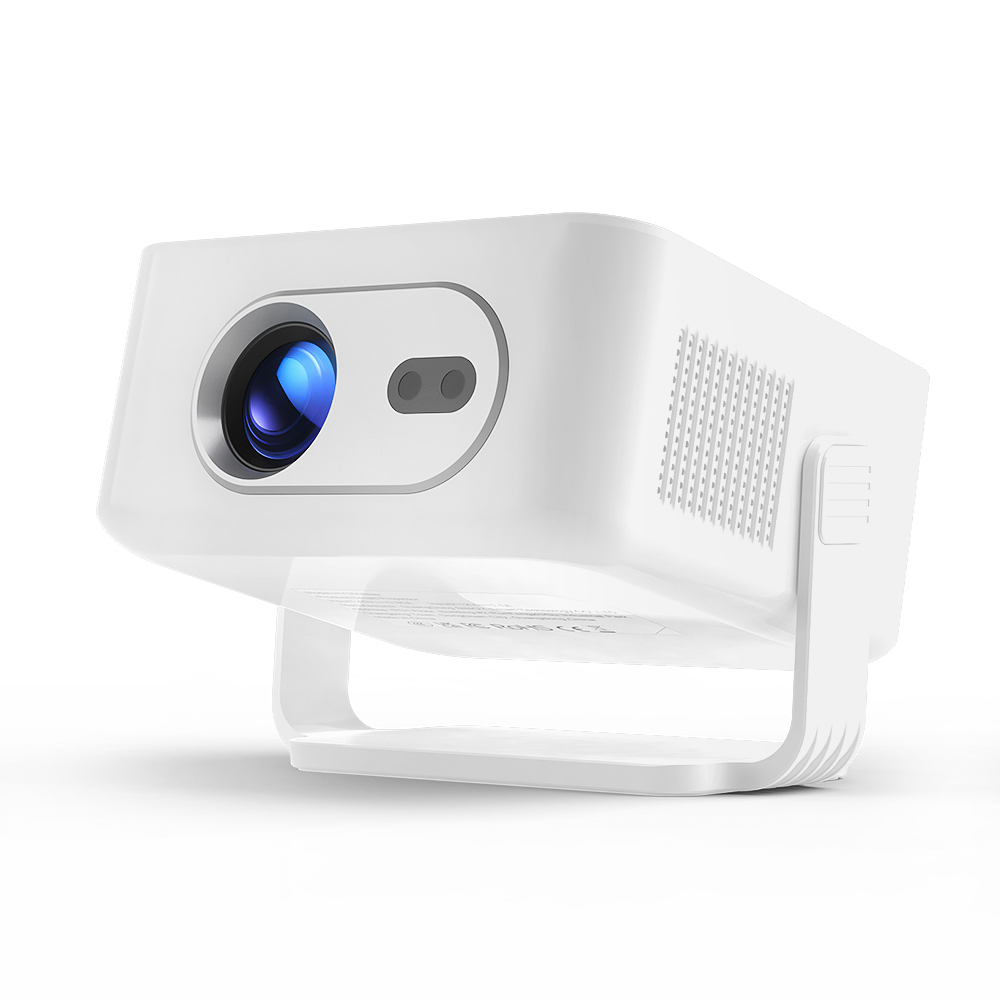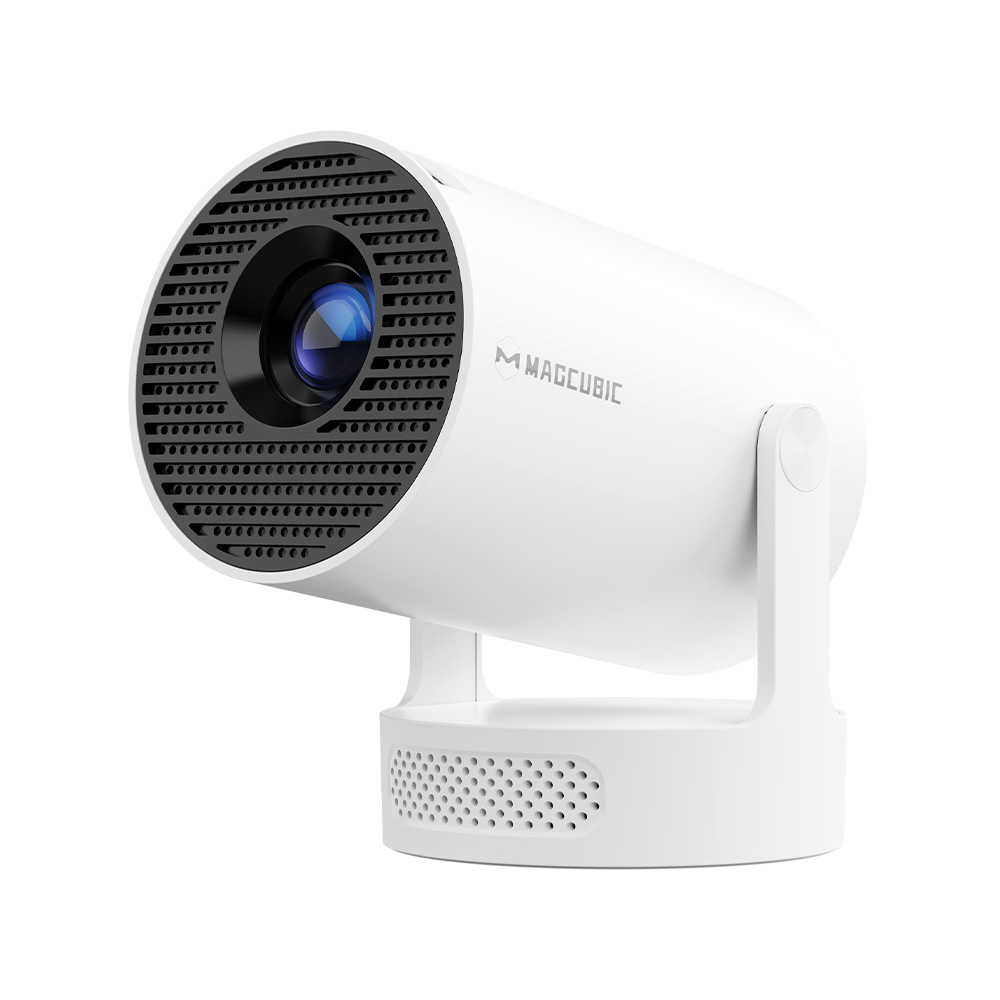
The projector bulb (lamp) is the core light-emitting component of traditional lamp-based projectors. It is also the consumable that is most easily overlooked yet most prone to failure. Many users only realize that projector bulbs need to be replaced when the screen suddenly dims, color spots appear, or the projector fails to turn on entirely.
Starting with the basics of projector bulbs, this guide covers bulb lifespan, signs of aging, replacement steps, and daily maintenance tips.
.png)
What Is a Projector Bulb?
A projector bulb—often referred to as a "projector lamp" or "projector light source"—is the core internal component responsible for generating high-intensity light in traditional lamp-based projectors. Light emitted by the bulb passes through a color wheel, lens assembly, and imaging chip (such as a DLP or LCD panel) to project an enlarged image onto a screen or wall.
Common types of projector bulbs available today include:
- UHP Lamps (Ultra High Performance): The most popular type today. They offer high brightness and excellent color performance and are widely used in home and commercial projectors.
- Halogen Lamps: Low in cost, but with limited brightness and lifespan. Mostly used in older or entry-level models.
- Metal Halide Lamps: Offer higher brightness and are common in engineering projectors and large conference room equipment.
Note: A projector bulb is usually housed inside a "lamp module," which includes the bulb itself, a reflective cup, and an outer housing. When replacing a bulb, users typically replace the entire module rather than just the glass bulb.
How Long Do Projector Bulbs Last?
Bulb lifespan varies significantly depending on the bulb type and usage mode:
| Usage Mode | Typical Brightness Setting | Approximate Lifespan |
|---|---|---|
| Standard Mode | High Brightness | ~2,000–3,000 hours |
| ECO Mode | Medium/Low Brightness | ~4,000–6,000 hours |
| Long-Life Mode | Premium Models Only | Up to 8,000–30,000 hours |
Magcubic projector lamps can typically reach a lifespan of up to 30,000 hours.
It is worth noting that bulb lifespan does not mean "how long the bulb will physically light up." Instead, it refers to the estimated time it takes for brightness to drop to about 50% of its original factory level. In other words, even if the bulb still turns on, image brightness and color performance will noticeably decline past its rated lifespan.
Actual lifespan is also affected by:
- Power cycles (frequently turning the projector on and off causes more wear than long continuous use).
- Ambient temperature and cooling efficiency.
- Dust accumulation (whether the air filter is cleaned regularly).
- Placement angle (whether it matches the manual's guidelines).
Most projectors allow you to check the total lamp hours in the system menu. Checking this regularly is recommended so you can stay informed.
What Signs Indicate That a Projector Bulb Needs Replacement?
Recognizing these signals—and using proper troubleshooting methods—can help you distinguish between a bulb issue and other hardware problems, preventing misjudgments.
1. Screen Noticeably Dims
- Typical Symptoms: Even with brightness and contrast set to maximum, the image remains dim and washed out, especially in dark scenes (such as dark backgrounds or night scenes). The drop in brightness is obvious compared to a new machine or a freshly replaced bulb.
- Troubleshooting:
- Check if the projector is in "ECO" mode. Try switching to "Standard" or "High Brightness" mode to see if brightness recovers.
- Check the lens surface and dust filter for heavy dust accumulation. Dust blockages can create the illusion of a dim screen. Clean the lens with a dry soft cloth or lens paper, and clean the filter using an air blower or soft brush.
- Check the total lamp hours in the system menu. If it is close to or past its rated lifespan (e.g., over 2,000–3,000 hours in Standard mode), the dimming is likely caused by bulb aging.
- If cleaning the filter and switching brightness modes brings no noticeable improvement, bulb replacement is confirmed.
2. Color Distortion or Color Spots
- Typical Symptoms: The overall image looks yellowish, reddish, or greenish, and white areas appear dull. Alternatively, uneven color patches, shadows, or bright spots appear in specific areas (usually a corner or center), visible on both static and moving images.
- Troubleshooting:
- Check if the color mode or color temperature settings were accidentally changed. Try restoring factory color settings to rule out user-error misconfigurations.
- If the issue is localized color spots or shadows, try slightly adjusting the projection angle or distance. If the spot position remains fixed regardless of content, the cause is likely uneven aging inside the bulb or a color wheel issue (on DLP models).
- If you suspect a color wheel failure, listen for a humming motor sound during projection. If present, seek professional assistance to determine whether it is a bulb or color wheel motor issue.
- Once settings and external factors are ruled out, color tinting and spots are usually directly related to bulb aging. Replacing the bulb and retesting is recommended.
3. Lamp Indicator Light Warning
- Typical Symptoms: The LAMP indicator light on the body (usually red or orange) stays lit or flashes. Some models also show pop-up text or error codes on the screen.
- Troubleshooting:
- Consult the indicator status chart in the product manual. Different flashing frequencies and color combinations correspond to specific faults (e.g., end of lamp life, failed ignition, overheating). Identify the exact meaning before taking the unit apart.
- If the message indicates "Lamp life expired" or "Replace lamp," proceed directly with a replacement.
- If the warning relates to high temperature, check whether the cooling fan is running, if air vents are blocked, or if the filter is clogged. Rule out cooling issues before assuming a bulb failure.
- If the manual does not clarify the warning light code, contact customer support with the specific light color and flash pattern for accurate troubleshooting.
4. Auto Shutdown After Powering On or Failure to Light Up
- Typical Symptoms: The projector turns off shortly after powering on (a few seconds to minutes) or repeatedly restarts. Alternatively, pressing the power button turns on the fan and lights up indicators, but the bulb fails to ignite, leaving a black screen.
- Troubleshooting:
- First, check the power connection to rule out loose cables or unstable outlets.
- Try restarting 1–2 times. If it turns off at roughly the same interval each time, it usually points to abnormal internal impedance in the bulb or an impending failure, rather than a random system glitch.
- Check if room temperature is too high, as extreme ambient heat can trigger protective shutdowns. If the problem persists in normal ambient temperatures, consider replacing the bulb.
- If you suspect a lamp socket or power board issue (rather than the bulb itself), test whether a new bulb fixes the issue. If the problem remains after installing a new bulb, consult a technician to inspect the socket contacts or power board.
5. Burning Odor or Strange Noises
- Typical Symptoms: Pops or crackles come from inside the projector during operation, or a burning odor emerges from the exhaust vents. This is relatively rare, but it indicates a risk of bulb shattering or severe component overheating.
- Troubleshooting:
- Stop using the unit immediately. Turn off the power and unplug the cord. Do not attempt to turn it back on or disassemble it yourself to avoid flying glass fragments or inhaling harmful gas if the bulb shatters.
- Let the device cool down completely (leave it idle for at least 1 hour). In a well-ventilated area, open the lamp cover for a visual check. If the bulb housing shows clear signs of charring, deformation, or cracks, replace the module directly. Do not attempt to power it on again.
- If the source of the burning smell is unclear, contact an authorized service center or technician for a full inspection to rule out safety hazards on the mainboard or power board.
6. System Prompt: "Lamp Life Expired"
- Typical Symptoms: A pop-up appears upon startup (e.g., "Lamp life has expired. Please replace the lamp."), or the system menu under Lamp Settings/Status shows accumulated hours at or above the rated limit.
- Troubleshooting:
- This warning is a preventive reminder based on preset operating hours. Even if the current image quality seems acceptable, plan a replacement soon. Aging lamps are prone to accelerated brightness drops, color degradation, and unexpected failure.
- To evaluate the actual condition, assess it alongside brightness and color performance. If dimming or color shifting is already present, the bulb has entered advanced aging and should be replaced promptly.
- After replacing the bulb, manually reset the lamp timer in the system menu. Otherwise, the warning will keep popping up, interfering with future maintenance tracking.
Summary: Among the six signals above, the first four (dimming, color shift, indicator warning, ignition failure) are signs of gradual aging. You can troubleshoot settings and clean the unit first; if the issue remains, a replacement is needed. The fifth signal (burning smell/noises) indicates a safety risk requiring immediate power-off and cautious handling. The sixth signal (system expiration prompt) is the most direct guideline for replacement. Acting promptly prevents sudden failure during use and protects surrounding components (like sockets and color wheel motors).
.png)
What to Prepare Before Replacing a Projector Bulb
Taking these preparation steps before starting significantly lowers operational risks and increases replacement efficiency:
- Ensure the device is powered off and fully cooled down: Bulbs operate at hundreds of degrees Celsius. Turn off the projector, unplug the power cord, and let it sit for at least 30–45 minutes to cool naturally and prevent burns.
- Verify the bulb model: Lamp modules are not universally compatible across different projector models. Verify your model by:
- Checking the label on the projector body or the user manual.
- Logging into the manufacturer's website and entering your serial number.
- Contacting customer support or an authorized dealer.
- Source an original or certified compatible lamp module: Original bulbs or certified compatible modules are recommended. Avoid unbranded aftermarket lamps to prevent poor light output, excessive heat, or safety hazards.
- Prepare basic tools: Usually, only a Phillips or flathead screwdriver is needed (refer to your user manual). Anti-static gloves are recommended for certain models.
- Choose a suitable workspace: Work on a clean, flat, well-lit table. Avoid working on carpets or beds, which generate static electricity and dust.
Step-by-Step Projector Bulb Replacement
The following is a general replacement workflow. Please refer to your product manual for specific model details:
- Step 1: Power off and cool down: Turn off the projector, unplug the power cable, and wait for the bulb to cool completely (at least 30 minutes recommended).
- Step 2: Locate the lamp cover: The lamp compartment cover is usually on the bottom or side of the projector, labeled "LAMP", and secured by one or two screws.
- Step 3: Open the cover: Use a screwdriver to remove the screws (keep them safe to prevent loss) and gently open the cover.
- Step 4: Remove the old lamp module: The internal module is usually secured by 1–2 screws. Loosen them, grab the handles on both sides of the module, and pull it straight out smoothly. Avoid shaking or twisting to prevent damaging the socket pins.
- Step 5: Inspect and clean the compartment: Once the old module is out, use a dry soft cloth or air blower to clean dust from the socket and compartment. Do not touch the metal contact points on the socket.
- Step 6: Install the new lamp module: Align the new module with the slot and insert it straight in until fully seated. Tighten the securing screws firmly, but avoid excessive force to prevent cracking the module.
- Step 7: Close and secure the cover: Reattach the cover and tighten the screws. Ensure the cover is fully closed (many models have an internal safety switch that prevents powering on if the cover is loose).
- Step 8: Test operation: Connect the power and turn on the projector. Verify that screen brightness and colors look correct, and ensure there are no unusual sounds or smells.
- Step 9: Reset the lamp timer: After replacing the bulb, manually reset the lamp timer in the system menu (usually under "Lamp Settings" or "Lamp Reset"). Otherwise, the system will continue tracking hours based on the old bulb.
Common Mistakes During Replacement
Even though the process is straightforward, user oversights can lead to equipment damage. Common mistakes include:
- Replacing the bulb before it cools down: Working on a hot unit causes burn hazards, and sudden temperature shifts can crack the glass.
- Touching the glass bulb directly with bare hands: Oils from skin attach to the glass surface, causing localized hot spots and potential shattering during high-temperature operation. Wear gloves or handle only the module housing.
- Forcing components during removal/installation: Socket pins are delicate. Rough pulling can bend or break pins, preventing the new bulb from lighting up.
- Using low-quality, mismatched aftermarket lamps: Incompatible specs lead to poor brightness, color temperature issues, and potential safety risks due to improper cooling design.
- Forgetting to reset the lamp timer: Causes inaccurate system logs, making future maintenance tracking difficult.
- Attempting to power on with an unclosed lamp cover: Most models feature a safety interlock; an improperly seated cover prevents the unit from starting or triggers error lights.
How to Extend Projector Bulb Lifespan
Rather than waiting for a bulb to fail, adopting good usage habits can extend bulb life and reduce maintenance costs:
- Use ECO Mode whenever possible: Selecting a medium or low brightness setting (when suitable for your room lighting) significantly extends lamp life.
- Avoid frequent power cycling: The power surge during ignition causes noticeable wear on the bulb. If you need a short break, use standby mode instead of constantly turning the unit on and off.
- Maintain good ventilation: Leave sufficient clearance around air vents during operation and clean the dust filter regularly.
- Keep the environment clean: Lower ambient dust levels to reduce dust settling on internal optical components.
- Maintain proper placement angles: Follow the manual's recommended tilt angles. Operating at extreme tilts for long periods causes uneven stress on the bulb.
- Follow proper shutdown procedures: Let the cooling fan stop automatically before disconnecting the main power cord. Avoid unplugging the power cord directly while the fan is running.
.png)
Should You Replace the Bulb or Buy a New Projector?
When a projector requires multiple bulb replacements or has been in service for years, users often wonder whether to keep replacing the bulb or buy a new projector. Consider the following factors:
- Cost Comparison: A lamp module usually costs 15%–30% of the projector's original price. If you have already replaced the bulb twice or more, the combined cost of replacement bulbs and the initial purchase price may approach or exceed the cost of a new projector.
- Overall Hardware Condition: If other components (mainboard, cooling fans, color wheel motor) are showing signs of aging—such as louder operation noise, occasional crashes, or loose ports—simply changing the bulb will not fix the underlying wear. Buying a new projector is a more reliable option.
- Technological Upgrades: Compared to modern LED or Laser light source models, older lamp projectors fall behind in brightness stability, color accuracy, higher resolutions (like 4K), and smart operating systems (built-in screen mirroring and apps). Upgrading the machine brings a comprehensive performance leap.
- Usage Environment: For corporate meeting rooms or educational institutions that prioritize stability and low maintenance, switching from aging lamp projectors to maintenance-free LED models reduces long-term operational costs.
Summary: If your projector is relatively new and in good condition, replacing the bulb offers the best value. If the unit is near the end of its product lifecycle and maintenance costs are mounting, upgrading to a modern light source is the smarter long-term choice.
Why Don't LED Projectors Need Bulb Replacements?
When shopping for a projector, more buyers look for models that do not require bulb replacements. LED (and laser) light source projectors have become the preferred choice for several key reasons:
- Different Light Source Architecture: Traditional projectors rely on high-pressure gas discharge lamps, where filaments and gas degrade over time. In contrast, LED light sources operate via solid-state semiconductors without filaments or gas fillings, completely eliminating that physical point of failure.
- Substantially Longer Lifespan: Traditional bulbs last roughly 2,000–10,000 hours, whereas LED light sources are rated for 20,000–30,000 hours or more. At 3–4 hours of daily use, an LED light source can last over a decade—covering the entire lifespan of the device without needing a bulb replacement.
- Instant On/Off: LED light sources reach full brightness instantly upon powering on without needing a warm-up phase, reducing wear caused by frequent power cycles.
- Lower Maintenance Costs & Higher Stability: With no lamp modules to replace, LED projectors eliminate ongoing consumable costs while avoiding the brightness decay and color shifts typical of aging bulbs.
As a result, LED and laser light sources have become the standard across home, educational, and business projector markets.
Frequently Asked Questions (FAQ)
Q1: Can I replace a projector bulb myself, or do I need a professional?
Most consumer projectors use modular lamp assemblies designed for easy user replacement. Following the manual instructions is generally straightforward.
Q2: Why is the screen still dim after installing a new bulb?
Possible causes include: using an uncertified or mismatched lamp, improper installation leading to poor socket contact, the projector remaining in ECO mode, or uncleaned dust on the lens and air filter.
Q3: Can I replace the bulb early before the system triggers a warning?
Yes. If screen brightness or color accuracy has dropped noticeably, you can replace the bulb early. System prompts are based on average estimates rather than strict performance measurements.
Q4: Why won't the projector turn on after installing a new bulb?
Common causes include an improperly closed lamp cover (which triggers the safety interlock switch), an unseated module, or loose screws causing poor electrical contact. Double-check the installation.
Summary
As the core consumable of a traditional projector, the bulb determines image brightness, color quality, and overall viewing performance. Understanding lamp lifespan, spotting replacement signals early, following proper installation steps, and maintaining good usage habits will extend bulb life and minimize long-term costs.
As a leading projector manufacturer, Magcubic is dedicated to offering reliable, worry-free products and services. We fully support bulk customization as well as OEM/ODM orders. If you have any questions regarding projector selection, model verification, or product upgrades, please feel free to contact us at any time.