1. Why Does Color Distortion Happen on a Projector?
When watching a projector, you might notice that a white wall looks bluish, skin tones look greenish, shadow details in movies turn into a flat gray, or a video that looks perfectly fine on your phone suddenly looks like it has a weird filter applied when projected onto the wall. When this happens, you are dealing with projector color distortion.
In other words, a color cast on your screen might simply be due to picking the wrong picture mode or an improper HDMI output setting. You are far more likely dealing with a hardware issue only when you see localized color splotches, missing color channels, or noticeable light source degradation.
Before rushing to take the machine apart or buy a new one, I recommend troubleshooting in this specific order: Settings → Signal Source → Environment → Cleaning & Maintenance → Light Source / Hardware. This order makes it easiest to figure out whether the problem comes from the projector itself o r your setup environment.
.png)
2. What Is Projector Color Distortion?
Definition of Color Distortion
Projector color distortion refers to a noticeable mismatch between the colors displayed on the screen and the true colors intended by the original image or video source. Under normal circumstances, a projector combines red, green, and blue (RGB) color channels to produce a full image. When one channel’s output is unbalanced, signal transmission fails, the light source degrades, or ambient reflections interfere, you will get issues like an overall color cast, oversaturated colors, washed-out images, or localized color spots.
When evaluating color distortion, do not just ask whether the image looks "nice." Check three specific reference points:
- l Is white clean and neutral?
- l Do skin tones look natural?
- l Do dark scenes retain depth and texture?
- If white looks clearly blue or yellow, people look sickly, or blacks turn into a cloudy gray, the image has drifted away from normal color performance.
Common Symptoms of Color Distortion
Color Cast: The entire image shifts toward yellow, blue, green, or red. High color temperatures make the picture look cool and bluish, while low color temperatures make it warm and yellowish.
Abnormal Saturation: Colors are either hyper-vivid (crushing highlight details) or completely washed out (looking like an old photograph).
Black Level and Contrast Anomalies: The most common sign is blacks looking gray, causing shadow details to blur into a muddy blob.
Localized Color Spotting: Fixed green, purple, or red patches in specific areas of the screen. This is a clear red flag for aging LCD panels, polarizers, or optical engine components.
Rainbow Effect: Seen primarily on single-chip DLP projectors, where red, green, and blue flashes appear along fast-moving, high-contrast edges.
Although all these symptoms fall under "projector color distortion," their fixes are completely different. An overall yellow tint might be a color temperature or light source issue; a sudden missing color is usually a bad HDMI cable or port; while localized purple or green spots point to the optical path or panels. Identifying the specific symptom first is far more useful than randomly tweaking menu settings.
3. Common Causes of Projector Color Distortion
I usually classify the causes into five distinct categories:
- Inappropriate Picture Settings: Most projectors feature modes like Standard, Cinema, Theater, Game, and Dynamic. Dynamic Mode boosts brightness and saturation to handle bright rooms or business presentations, but it can make colors look over-vivid and unnatural. Cinema or Theater modes prioritize accurate skin tones, deep blacks, and rich color gradation, making them much better suited for movies.
- Signal Chain Issues: Damaged HDMI cables, loose ports, mismatched player output formats, HDR compatibility errors, or mismatched RGB Full vs. RGB Limited settings can all cause color shifts, grayish blacks, or blown-out highlights. If swapping the HDMI cable, trying a different port, or switching to another PC or TV box fixes the color, the projector itself is likely fine.
- Environmental Factors: Projectors do not emit light directly toward your eyes like TV screens; they rely on light reflecting off a screen or wall. If your wall has a yellow tint, white areas on screen will turn warm. If the wall is dark or gray, overall brightness and saturation drop. Ambient light is equally critical. As noted in Magcubic’s 120-inch projection guide, a dark room using a 120-inch screen works well with 300–800 ANSI lumens, whereas a living room with ambient light needs 3,000 ANSI lumens or more. If your projector lacks sufficient brightness and you force a massive screen size, the picture will look dull, washed out, and lifeless.
- Light Source Aging: Traditional lamp projectors grow dimmer, yellower, and lose contrast as usage hours build up. Traditional lamps average a lifespan of 2,000–5,000 hours, LED units last 20,000–30,000 hours, and Lasers last 20,000+ hours. A traditional lamp can show noticeable brightness drop-offs after around 1,000 hours. This means color degradation is often not a sudden failure, but a gradual decay over time.
- Internal Optical or Display Panel Faults: In LCD projectors, aging LCD panels, polarizers, or optical engines cause localized color patches and uneven hues. In DLP projectors, a failing color wheel can cause color flickering, missing colors, exaggerated rainbow effects, or unusual mechanical noises. In these cases, stop tweaking the settings menu and contact customer support or a repair technician.
.png)
4. How to Fix Projector Color Distortion
Here is the step-by-step process I follow:
Reset and Change the Picture Mode: Restore factory image settings first, then start observing the picture in Standard or Cinema mode. Avoid using Dynamic Mode right away, as it sacrifices natural color for extra brightness. Next, adjust the color temperature: if the image looks too yellow, raise the color temperature; if it looks too blue, lower it. Then check brightness and contrast—setting brightness too high turns blacks gray, setting it too low crushes shadow detail, and setting contrast too high clips highlight details.
Adjust RGB Settings: If the image leans red, lower the red gain or offset; if it leans green, adjust the green; if it leans blue, tweak the blue. You do not need professional calibration gear at home—just use a pure white image, a portrait photo with natural skin tones, and a grayscale test chart to make reasonable adjustments. If whites look neutral and skin tones look healthy, you are moving in the right direction.
Troubleshoot HDMI and Media Players: Unplug and re-seat the HDMI cable, try a different cable, switch to another input port, and test with a different playback device. Be sure to check the HDR settings, color range, and resolution output options on your PC, game console, or TV box.
Control Ambient Light and Use the Right Screen: White walls work in a pinch, but they are not suitable for evaluating true color accuracy. To see accurate color, use a color-neutral projector screen. For living rooms with overhead lighting, consider an Ambient Light Rejecting (ALR) screen; for dedicated dark rooms, a neutral white or gray screen offers the best color accuracy. Keep your screen size realistic, too. If a low-brightness portable projector looks washed out at 120 inches, the color system is usually not broken—the light output is simply being stretched too thin over a large area.
Clean the Lens, Filters, and Air Vents: Dust buildup cuts down light transmission and causes the machine to run hotter. Running the projector on maximum brightness for long periods adds thermal stress and speeds up the aging of light sources and optical components. Magcubic’s color troubleshooting guide also recommends avoiding prolonged operation at peak brightness, preferring balanced options like Standard, Eco, or Cinema modes.
Decide When to Seek Repair: Full-screen color shifts can usually be calibrated out; fixes after changing cables mean it was a signal issue; improvements after cleaning mean it was a maintenance task. However, if you see permanent color spots, missing color channels, screen flickering accompanied by odd noises, or severe light loss after years of use, it is time to inspect the light source, LCD panels, DLP color wheel, or internal optical engine.
5. How Projector Manufacturers Improve Color Accuracy
From a manufacturing perspective, true color accuracy relies on the combined quality of the light source, optical engine, thermal management, tuning, and quality control.
Stable Light Sources: LED and Laser light sources hold significant advantages over traditional lamps when it comes to operational lifespan and consistent brightness output.
Optical Parameter Calibration: Key metrics determine long-term color stability: color temperature fixes the white point, uniformity ensures colors stay consistent across the entire screen, and contrast drives black depth and image layering.
Input Compatibility and System Tuning: Modern smart projectors must process signals from smartphones, TV boxes, game consoles, and streaming apps. Manufacturers tune firmware to manage resolution scaling, color space ranges, HDR compatibility, and auto-corrections. Features like auto-focus, auto-keystone, obstacle avoidance, and screen alignment improve installation, but they complement—rather than replace—proper color calibration.
Quality Control: Companies like Hanying back their production with headquarters operations in Shenzhen, manufacturing facilities in Dongguan, and an e-commerce hub in Changsha. Their factories handle SMT, assembly, testing, and strict quality control under ISO9001, BSCI, CE, and FCC certifications. On the manufacturing line, testing goes far beyond making sure the unit turns on—it covers brightness, color temperature, color uniformity, heat dissipation, interface reliability, and long-term stability.
6. Recommended Projectors for Better Color Performance
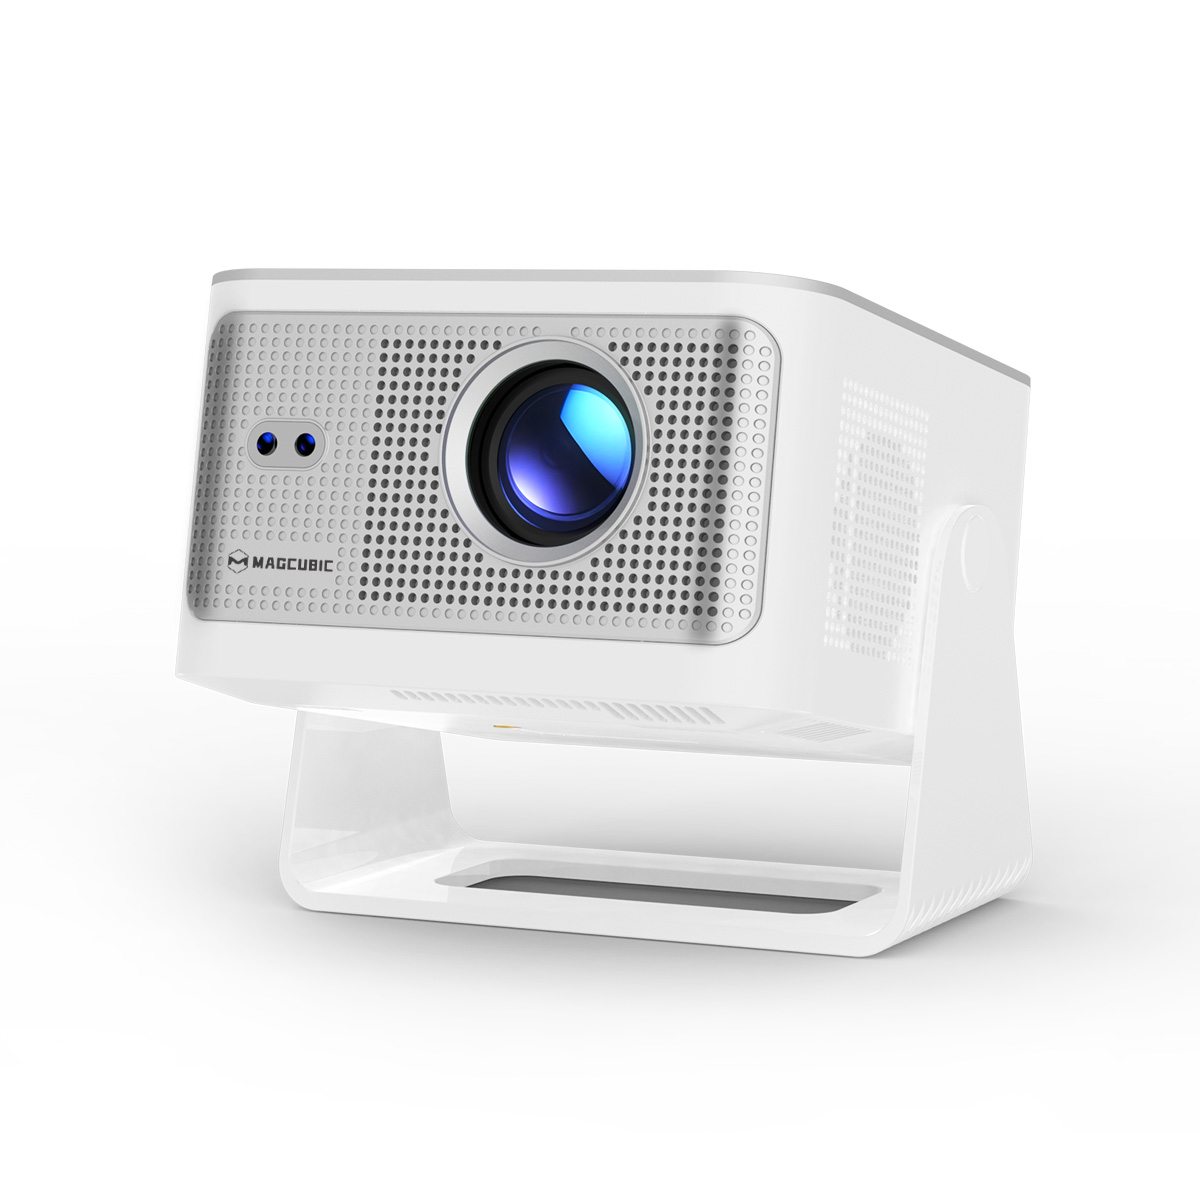
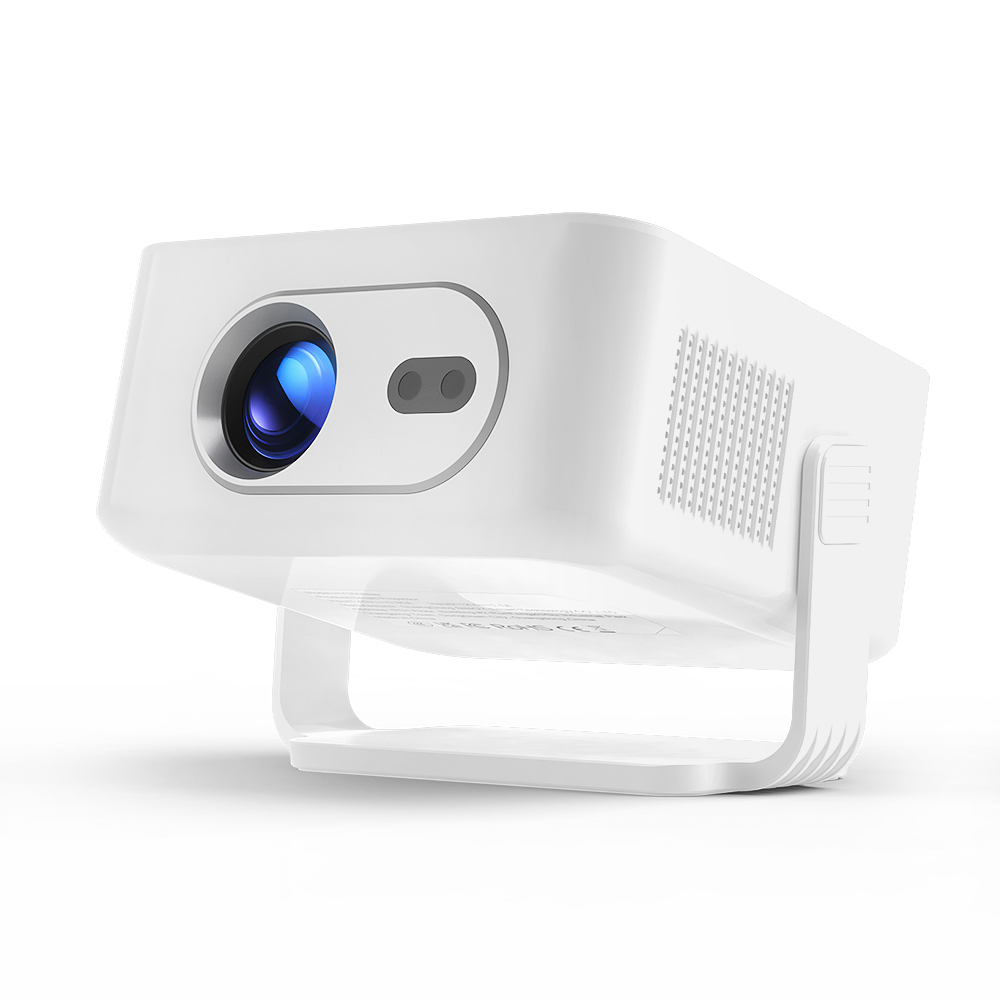
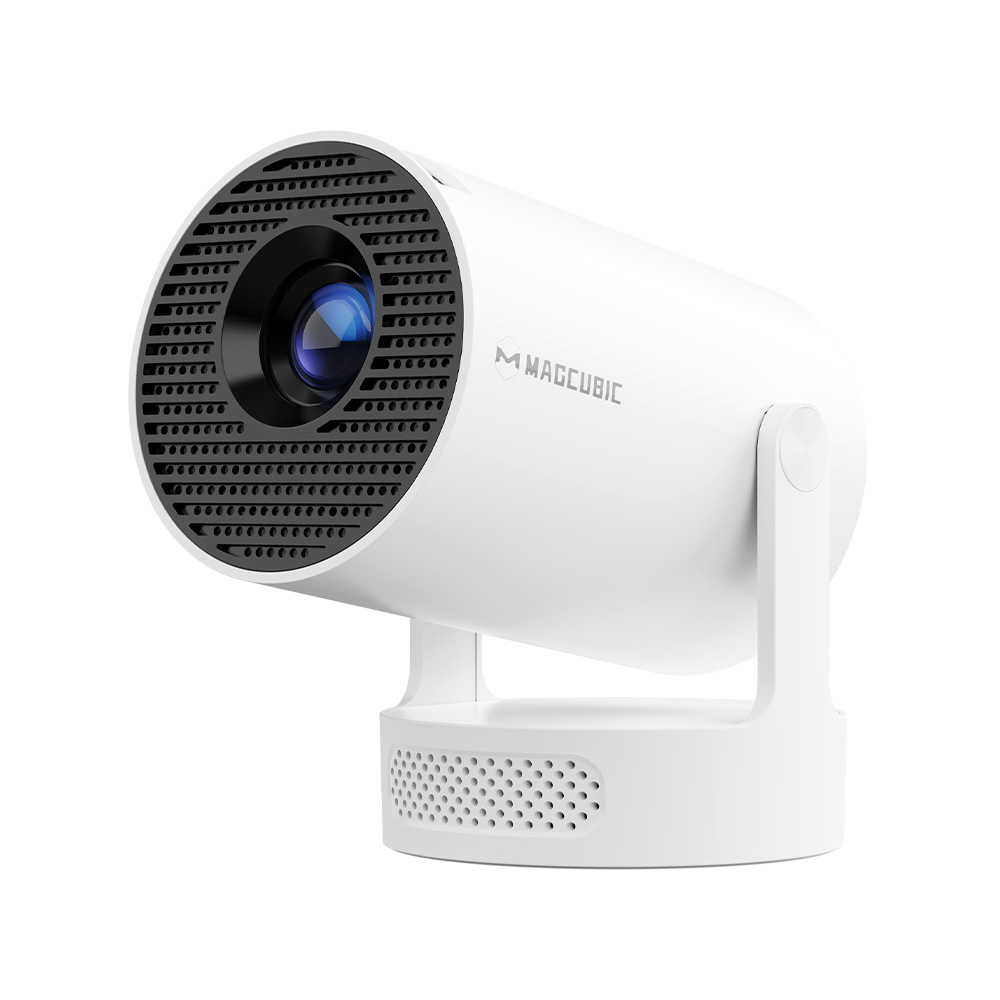
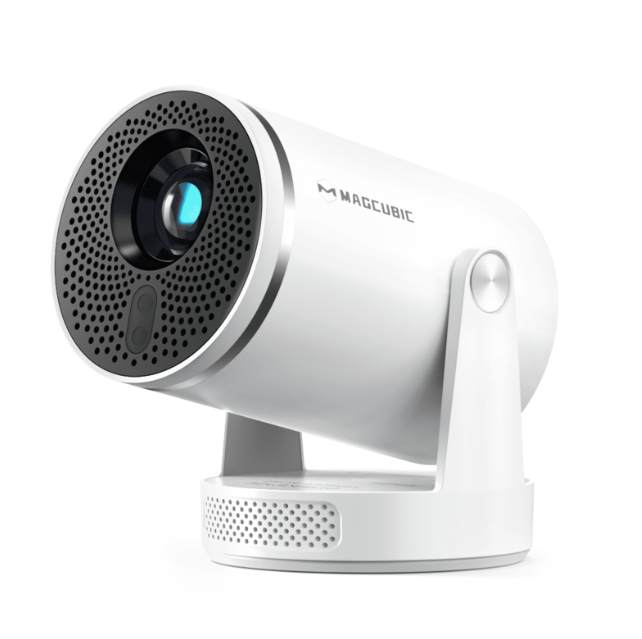
For small rooms wanting sharp 1080P detail: Consider the HY320Pro. It features a Native 1080P resolution, 300 ANSI Lumens, a 0.8:1 throw ratio, Android 14, auto-focus, and a 2000:1 contrast ratio. It performs best on a 60–80 inch screen at a projection distance of 1.1–1.5 meters.
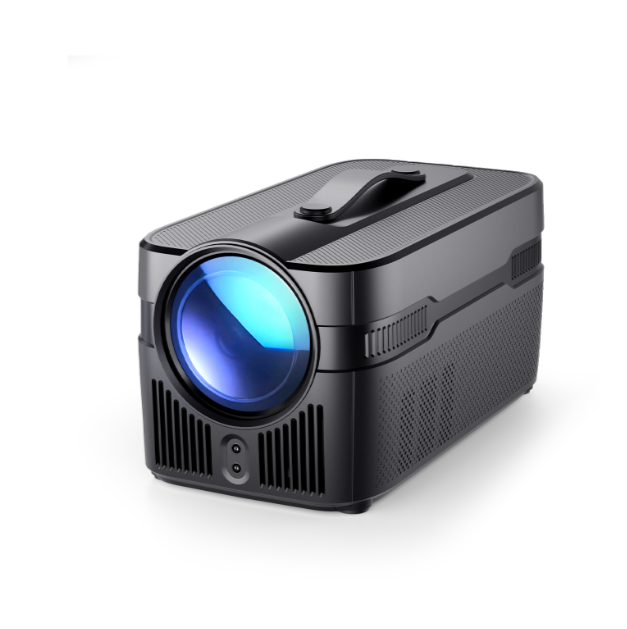
For tight spaces where throw distance is limited: Short-throw capability is key. The HY450C offers a 0.6:1 throw ratio, Native 1080P resolution, support for 4K@30fps video decoding, 600 ANSI Lumens, along with auto-focus and auto-keystone correction. Short-throw optics make it much easier to match screen size with limited room depth.
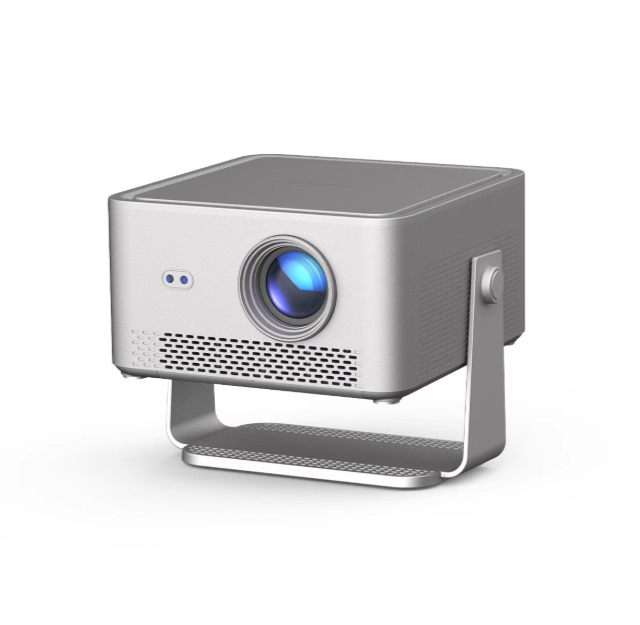
For a complete Google TV ecosystem: The HY450GT combines Google TV OS with a Linux backend. It supports Native 1080P output, 4K@60Hz signal input, delivers 800 ANSI Lumens, and includes auto-focus and auto-keystone. The Google TV system provides broad app compatibility and higher-quality streaming playback.
7. Frequently Asked Questions (FAQ)
Q1: What should I do if the projected image looks yellow?
Check if the color temperature is set too low. Next, check if you have been running the unit in high-brightness mode for a long time or if the light source is aging. If a traditional lamp projector has been used for years and has grown visibly dim, the yellow shift usually points to light source decay.
Q2: Why does the projected image have a green tint?
This can happen if the green channel in the RGB settings is pushed too high, if there is an HDMI signal error, or if there is damage to an LCD panel/optical component. Start by swapping cables, resetting picture settings, and adjusting RGB levels. If the green tint is restricted to a fixed area on screen, the hardware needs to be serviced.
Q3: Why do colors look fine during the day but different at night?
Ambient light and wall reflections change how your eyes perceive screen contrast and hue. Daytime ambient light causes dark areas to wash out into gray, while a dark room at night restores deep contrast. To judge color accuracy fairly, always evaluate your settings in consistent lighting conditions.
Q4: Can I project directly onto a plain white wall?
Yes, for casual viewing. However, a wall’s texture, underlying paint tone, and uneven reflection will distort color accuracy. If you care about natural skin tones in movies, accurate design work, or brand color matching, using a neutral projector screen is strongly recommended.
Q5: How do I know whether to repair or replace my projector?
If tweaking settings, swapping cables, changing input devices, cleaning dust, or controlling room light solves the problem, there is no need to replace the unit. However, if you see permanent color spots, missing color channels, flashing colors with fan/wheel noises, or severe light source decay where repairs cost nearly as much as a new unit, it makes more sense to repair or replace the machine.
8. Conclusion
Fixing projector color distortion comes down to identifying where the breakdown happens rather than making random adjustments. To evaluate whether a projector is reliable, look at how well its native resolution, ANSI brightness, contrast ratio, color temperature, uniformity, light source lifespan, and throw ratio match your actual room setup.
Low-brightness portable units work best in dark rooms with smaller screen sizes; 1080P models suit home theaters and gaming; short-throw projectors solve layout issues in small spaces; and higher-brightness models handle ambient light much better.
Projector color distortion is ultimately the combined result of display settings, signal quality, optical hardware, room environment, and maintenance habits. By breaking these factors down step by step, you can fix most color issues yourself—and easily spot true hardware failures when it is time for a repair.